
Gas Firing - September 29, 2012 - Loading The Kiln
I was able to create enough work to fill the kiln again. The pressures of the day job and summer family plans caused making forms to slow to a crawl. As this can be frustrating at times, it fits me well. And let me sing the praises of Laguna's B-Mix clay. It has taken me some time for this clay body and me to become friends, but now that I have learned how to cope with the clay's intricacies, I appreciate how the clay is very slow to dry. I can make a teapot body and keep it in a leather-hard state for weeks under dry cleaner garment bags.
As I have been invited to be a guest artist at Windblown Studio during this year's fall Potters Tour, October 19-20, in Western Pennsylvania , I needed to kick up production during August and September. For information on the Tour go to: http://www.potterstour.com/index.htm
I loaded the kiln on Saturday (28) and fired it on Sunday (29). Here are a few of the kiln loading pictures. I will post the results when I open the kiln in a few days.
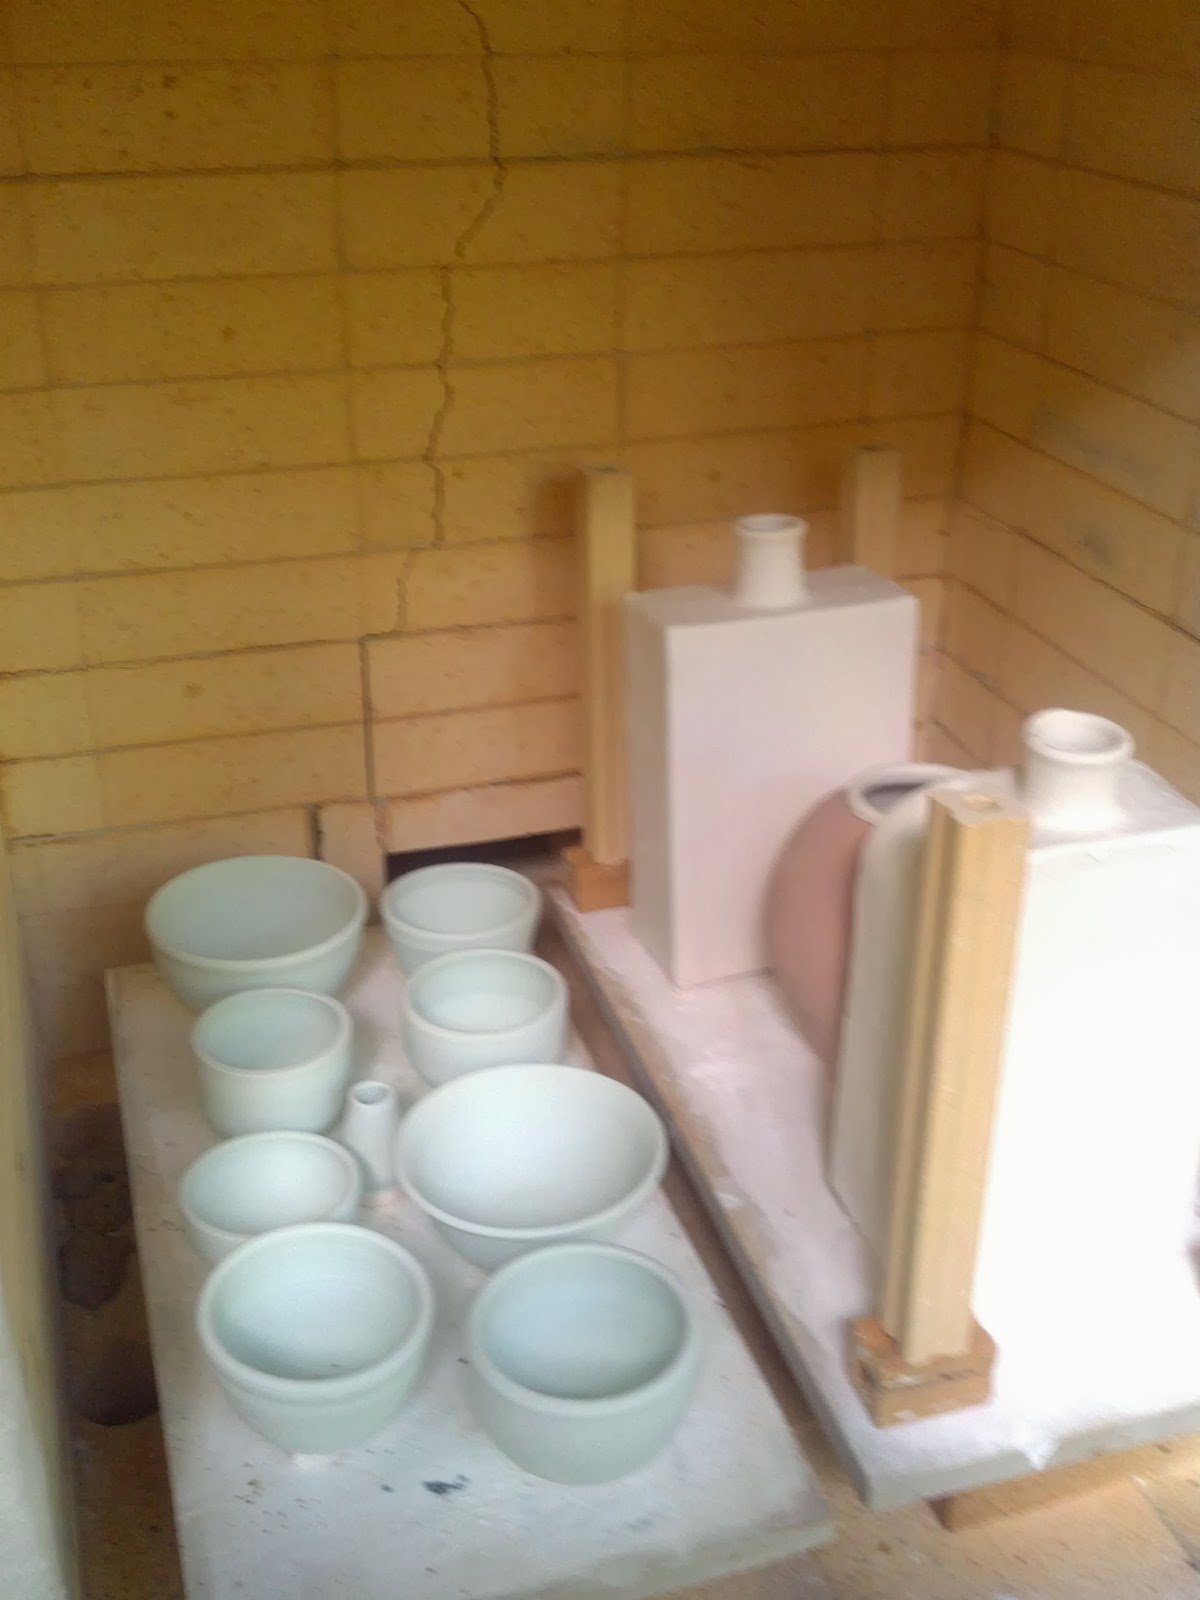
This is the first level of the kiln loaded with bowls. The bowls are glazed with Willie Helix green. You will notice later, that the forms on the right were removed and placed on the upper most shelf position. The stilts I purchased for these bottle forms were unstable when I placed the next shelf on them.
This shelf has Willie Helix green on the mugs, bowls and teapot.
The glaze on this shelf is mostly Persimmon Blue. The dark teapot is Tenmoku glaze.
Small bowls are glazed with two recipes of red. These are test bowls.
The glaze on the bowls in the back of this shelf is Persimmon Blue. In the foreground is Malcolm Shino.
More Persimmon Blue and Shino (left rear forms). The large bottles will be Matt White.
As I have been invited to be a guest artist at Windblown Studio during this year's fall Potters Tour, October 19-20, in Western Pennsylvania , I needed to kick up production during August and September. For information on the Tour go to: http://www.potterstour.com/index.htm
I loaded the kiln on Saturday (28) and fired it on Sunday (29). Here are a few of the kiln loading pictures. I will post the results when I open the kiln in a few days.
This is the first level of the kiln loaded with bowls. The bowls are glazed with Willie Helix green. You will notice later, that the forms on the right were removed and placed on the upper most shelf position. The stilts I purchased for these bottle forms were unstable when I placed the next shelf on them.
 |
| First level (left side) |
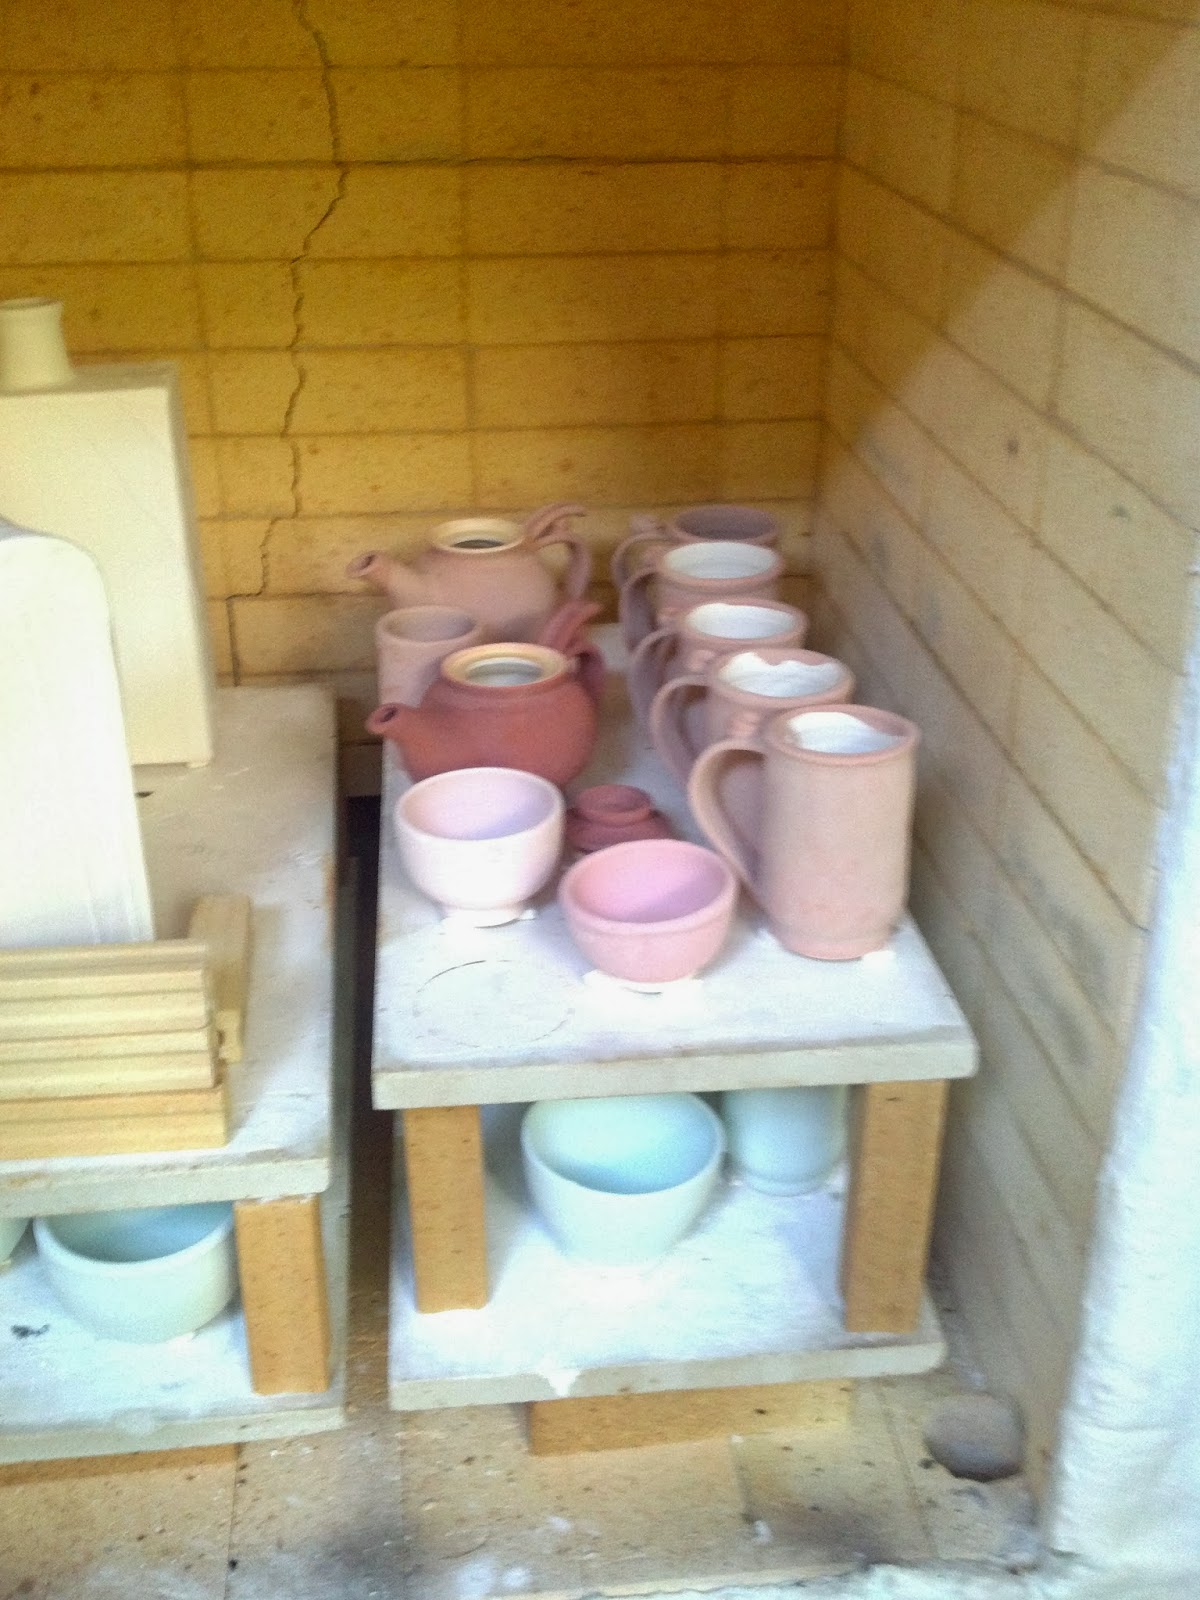 |
| This is the second left (right hand side) |
 |
| Second level and top right level |
This shelf has Willie Helix green on the mugs, bowls and teapot.
The glaze on this shelf is mostly Persimmon Blue. The dark teapot is Tenmoku glaze.
Small bowls are glazed with two recipes of red. These are test bowls.
 |
| Complete stack |
The glaze on the bowls in the back of this shelf is Persimmon Blue. In the foreground is Malcolm Shino.
More Persimmon Blue and Shino (left rear forms). The large bottles will be Matt White.


Comments
Post a Comment