Posts

Showing posts from October, 2013

Some Assembly Required
Image
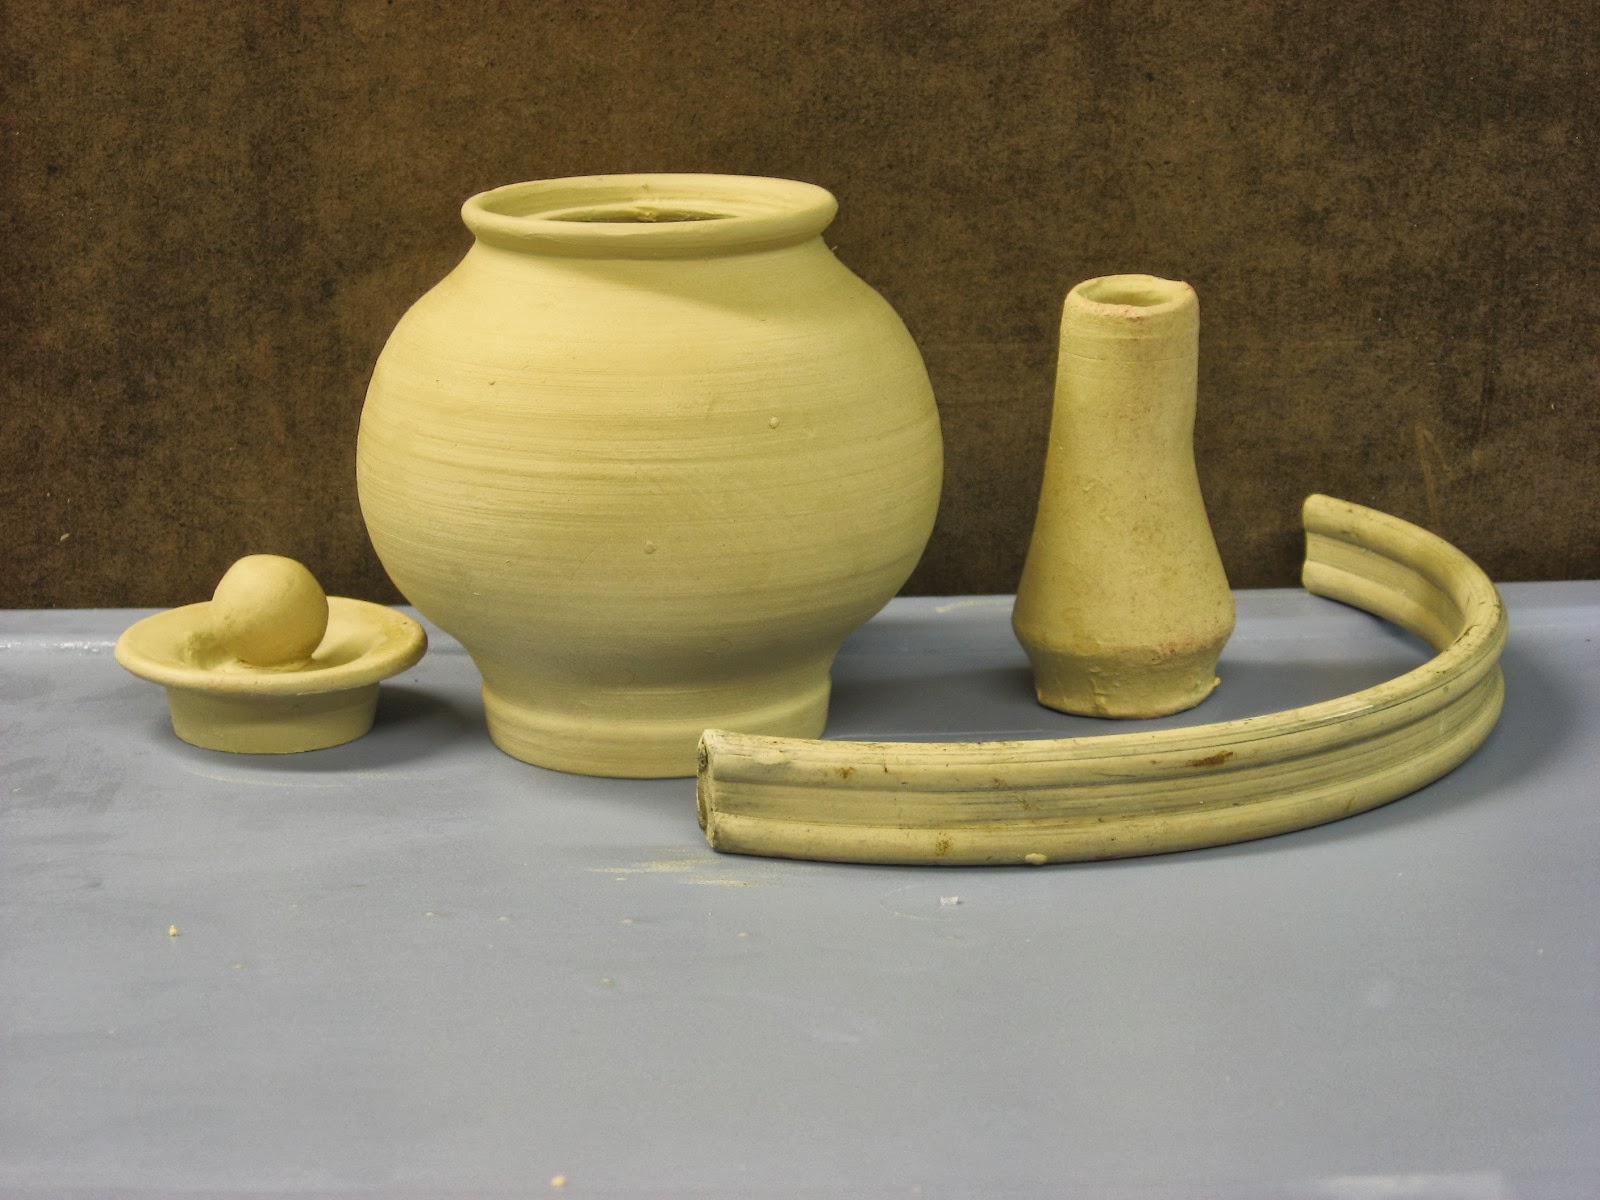
I create the separate pieces of a teapot at different times and allow them to dry to a leather hard state. When the clay is leather hard it can be handled without deforming the clay, but soft enough to manipulate and assemble the pieces. From left to right is the teapot lid, body and spout, along with an handle that has been extruded. The extruder's die was custom made by me.   (Sorry for the yellow hue in the pictures.  Either the camera flash malfunctioned or the fluorescent ceiling lights interfered with the flash.)    I start with the spout.  After imagining it on the teapot body, I cut the bottom of the spout to fit the curve of the body. Next I scratch an outline at the location of the spout on the body.  Using my thumb I press the clay inward. This is the beginning of the internal strainer that is part of all of my teapots. Next I create the internal strainer by making small holes in the clay.  Some use a set pattern for these holes.  I don&#

A Well Fitted Lid

Image
I enjoy making teapots. It is one-part throwing on the wheel, one-part conceptualizing the final product and one-part assembling the final product.   It blends the skills I have as a potter with a desire to use sculptural techniques to provide balance and form. The end result should be a teapot that is well-balanced in one's hand, pours effortlessly and is cherished by its user as a beautiful object.  People ask me how much time it takes to make a teapot.  That is such a difficult question to answer.  For me, I balance a "day-job", family time, house chores and a few other indulgences with what I do as a clay artist.  Therefore, there are few periods that one will find me in the studio on two or more consecutive days. Over the years I have developed a rhythm that works well for me.  The elapsed time between making, glazing and firing can be 60-days and sometimes longer.  One day I may just make teapot bodies and keep them on the wheel head bats.  I can keep teapo

Gas Firing - September 29, 2013 - Unloading the Kiln

Image
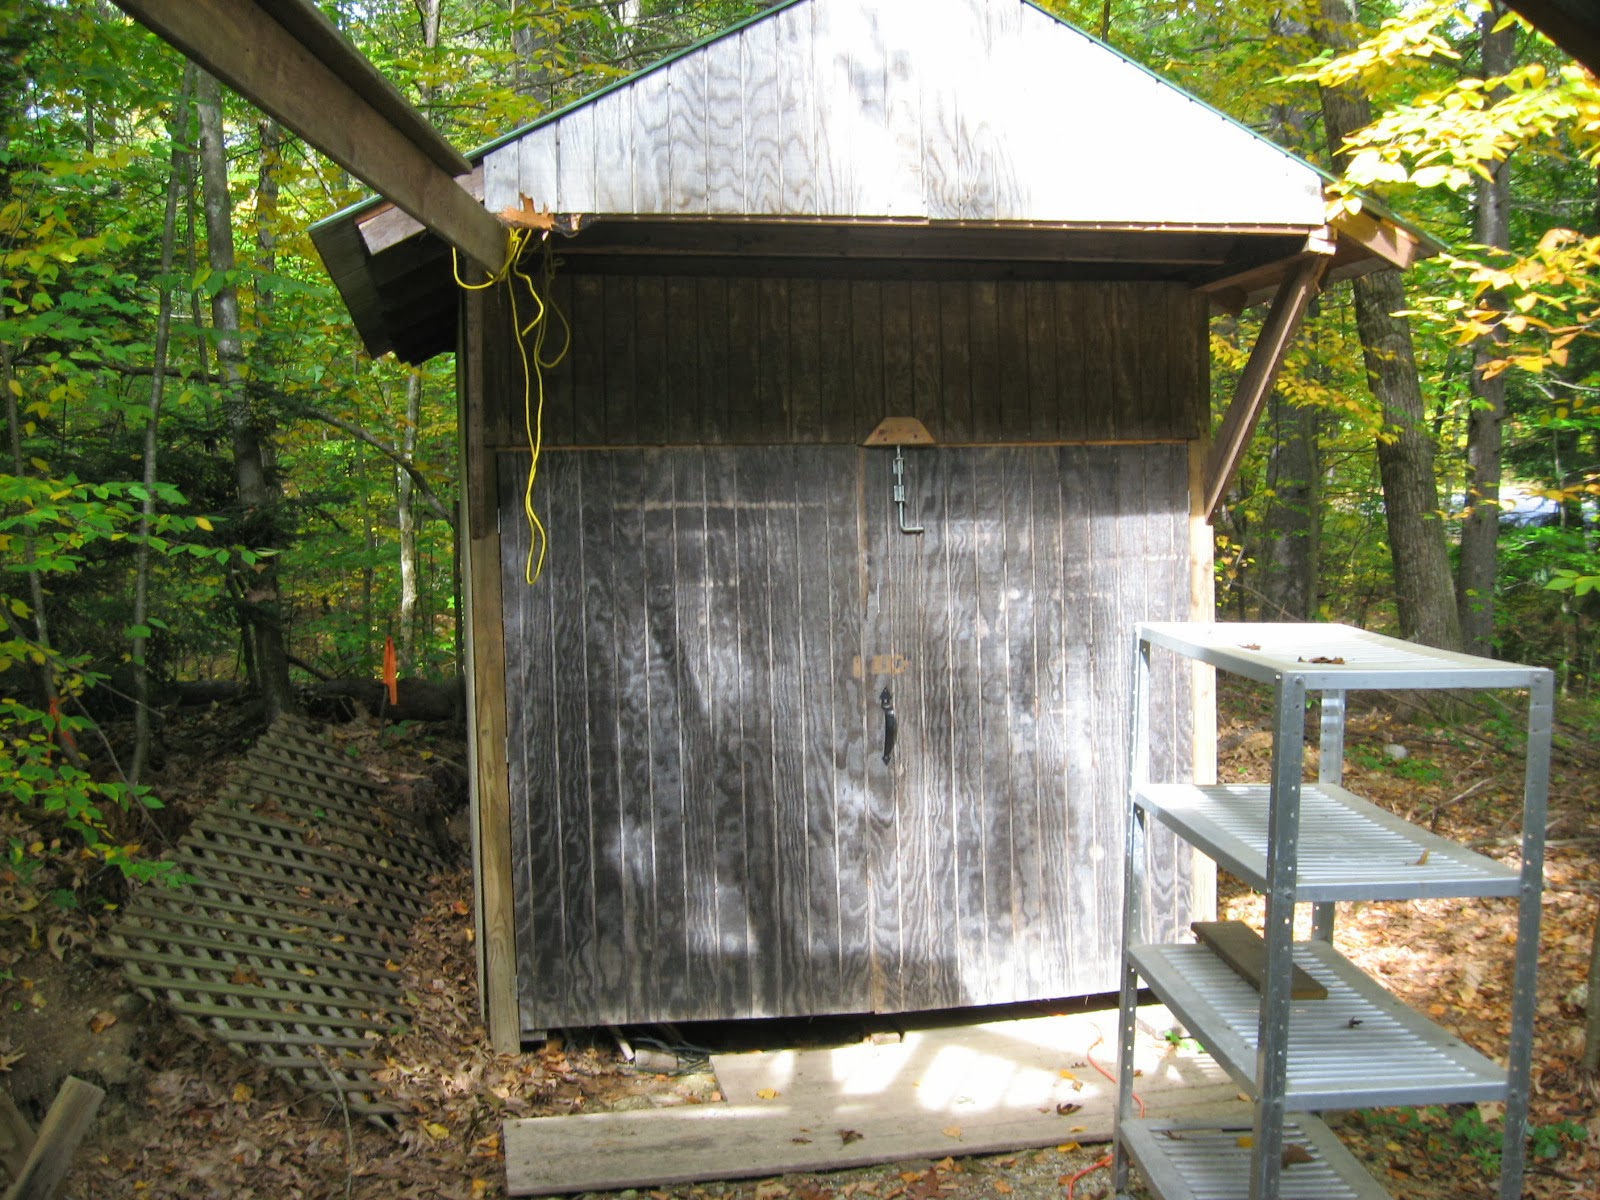
Pictures are from when the kiln was cool enough to be opened.  Kiln Shed- Closed Kiln Shed Opened Kiln Door Opened and Contents Revealed Top Shelf Cone Pack - Cone 9 Down Bottom Shelf Cone Pack - Cone 9 Down Top Shelf - Right Side Persimmon Blue Teapots and Vase.  More Plum than Blue.  Teapot in back is Shino.  Bottles are matte white. Top Shelf - Left Side Two Bowls in Front are Persimmon Blue.  Matcha Bowls and whisk holders in the back are Shino Second Shelf - Right Side Two small bowls are test bowls.  The pink bowl is the original red glaze that came out too pink in Oxidation, electric firing..  The vivid red bowl is the the same glaze adjusted.  Teapot in the middle is Tenmoku and in the rear Persimmon Blue.  Mugs are Persimmon Blue. Second Level - Left Shelf Front bowls are Shino.  Rear bowls are Persimmon Blue Bottom Shelf - Right side All items on this shelf are Willie Helix (green).  The mugs have green flashing where t