Posts

Showing posts from 2013

Some Assembly Required

Image
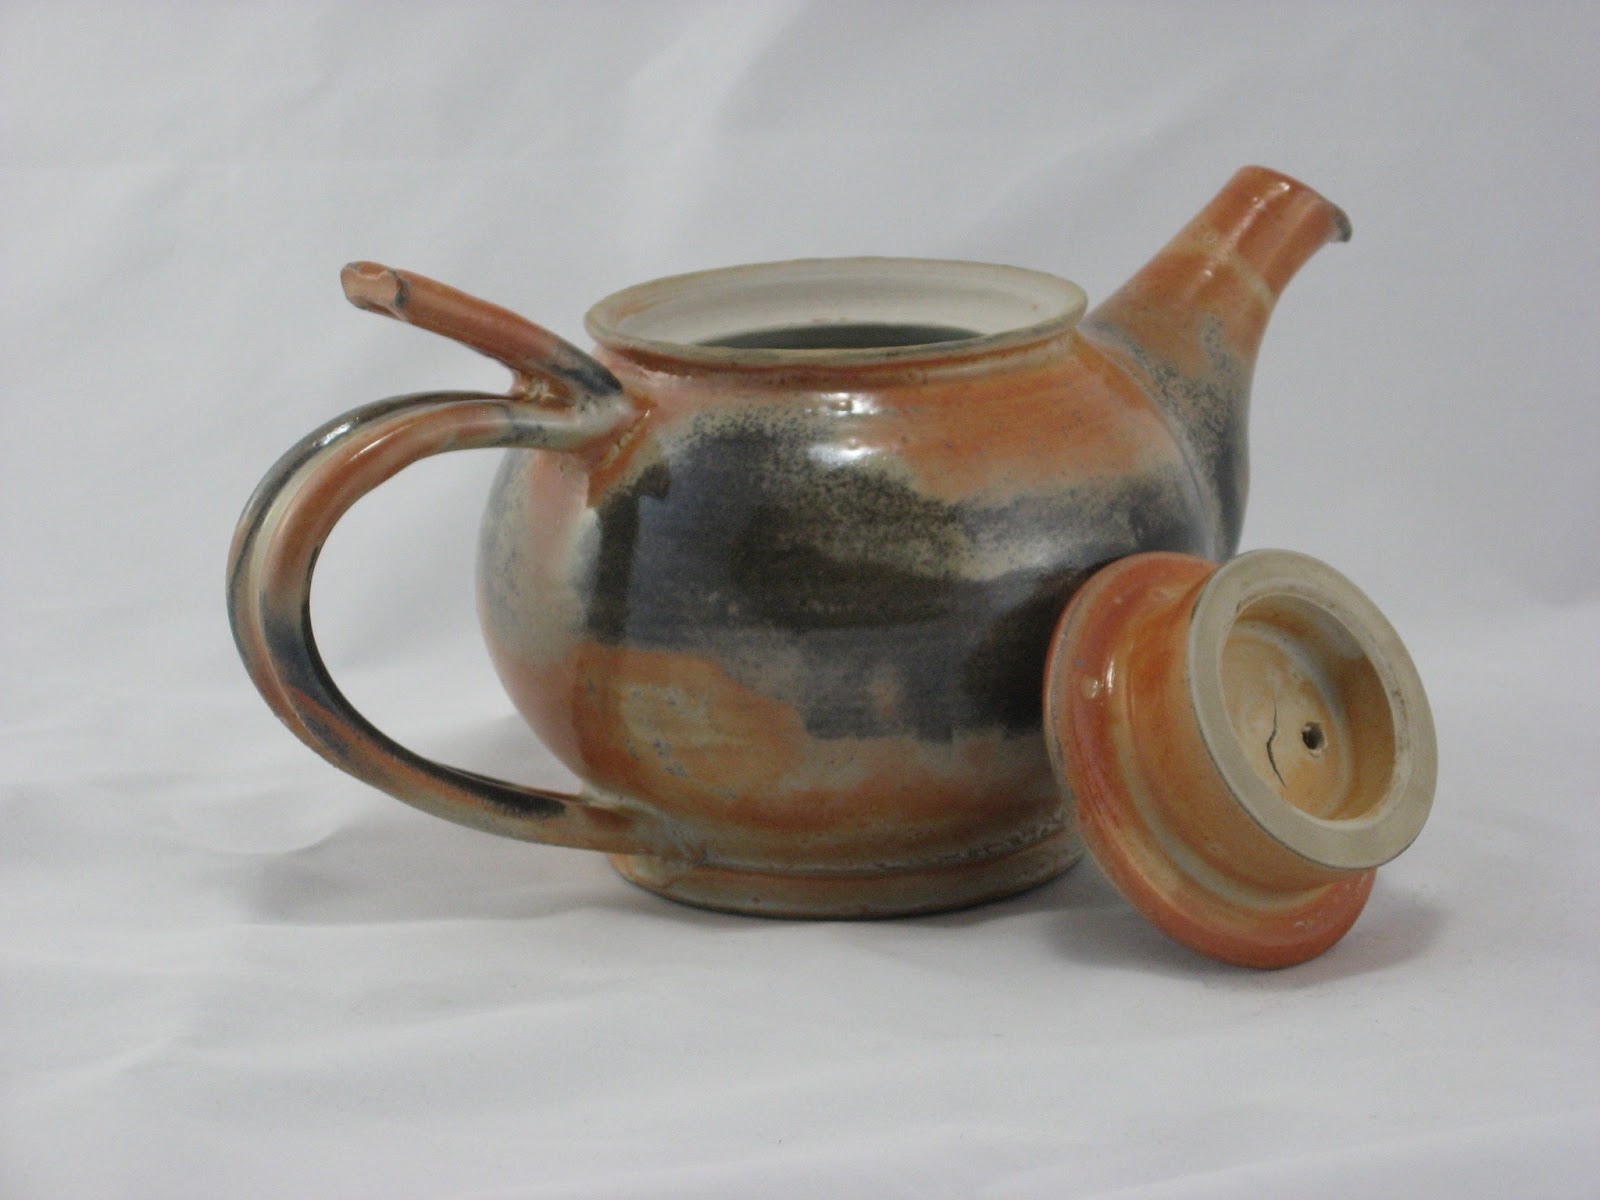
I create the separate pieces of a teapot at different times and allow them to dry to a leather hard state. When the clay is leather hard it can be handled without deforming the clay, but soft enough to manipulate and assemble the pieces. From left to right is the teapot lid, body and spout, along with an handle that has been extruded. The extruder's die was custom made by me.   (Sorry for the yellow hue in the pictures.  Either the camera flash malfunctioned or the fluorescent ceiling lights interfered with the flash.)    I start with the spout.  After imagining it on the teapot body, I cut the bottom of the spout to fit the curve of the body. Next I scratch an outline at the location of the spout on the body.  Using my thumb I press the clay inward. This is the beginning of the internal strainer that is part of all of my teapots. Next I create the internal strainer by making small holes in the clay.  Some use a set pattern for these holes.  I don&#

A Well Fitted Lid

Image
I enjoy making teapots. It is one-part throwing on the wheel, one-part conceptualizing the final product and one-part assembling the final product.   It blends the skills I have as a potter with a desire to use sculptural techniques to provide balance and form. The end result should be a teapot that is well-balanced in one's hand, pours effortlessly and is cherished by its user as a beautiful object.  People ask me how much time it takes to make a teapot.  That is such a difficult question to answer.  For me, I balance a "day-job", family time, house chores and a few other indulgences with what I do as a clay artist.  Therefore, there are few periods that one will find me in the studio on two or more consecutive days. Over the years I have developed a rhythm that works well for me.  The elapsed time between making, glazing and firing can be 60-days and sometimes longer.  One day I may just make teapot bodies and keep them on the wheel head bats.  I can keep teapo

Gas Firing - September 29, 2013 - Unloading the Kiln

Image
Pictures are from when the kiln was cool enough to be opened.  Kiln Shed- Closed Kiln Shed Opened Kiln Door Opened and Contents Revealed Top Shelf Cone Pack - Cone 9 Down Bottom Shelf Cone Pack - Cone 9 Down Top Shelf - Right Side Persimmon Blue Teapots and Vase.  More Plum than Blue.  Teapot in back is Shino.  Bottles are matte white. Top Shelf - Left Side Two Bowls in Front are Persimmon Blue.  Matcha Bowls and whisk holders in the back are Shino Second Shelf - Right Side Two small bowls are test bowls.  The pink bowl is the original red glaze that came out too pink in Oxidation, electric firing..  The vivid red bowl is the the same glaze adjusted.  Teapot in the middle is Tenmoku and in the rear Persimmon Blue.  Mugs are Persimmon Blue. Second Level - Left Shelf Front bowls are Shino.  Rear bowls are Persimmon Blue Bottom Shelf - Right side All items on this shelf are Willie Helix (green).  The mugs have green flashing where t

Gas Firing - September 29, 2012 - Loading The Kiln

Image
I was able to create enough work to fill the kiln again.  The pressures of the day job and summer family plans caused making forms to slow to a crawl.  As this can be frustrating at times, it fits me well.  And let me sing the praises of Laguna's B-Mix clay.  It has taken me some time for this clay body and me to become friends, but now that I have learned how to cope with the clay's intricacies, I appreciate how the clay is very slow to dry.  I can make a teapot body and keep it in a leather-hard state for weeks under dry cleaner garment bags. As I have been invited to be a guest artist at Windblown Studio during this year's fall Potters Tour, October 19-20, in Western Pennsylvania , I needed to kick up production during August and September.  For information on the Tour go to:  http://www.potterstour.com/index.htm I loaded the kiln on Saturday (28) and fired it on Sunday (29).  Here are a few of the kiln loading pictures.  I will post the results when I open the kiln

Pop Up Camper Repair - Addendum - Lift Arms

Image
I was approached through the website www.popupportal.com to explain how I had repaired the springs on the lift arms of the camper.  Like the person who asked the question, I was hesitant to rip into it.  I purchased four new springs and cables. I felt that if messed up, I could buy four new complete arms.  What I found was that there isn't any real magic going on inside the arm.   The repair is fairly straight forward.  I wish I had taken pictures when I was repairing the arms. When I purchased the cable and the springs, the supplier also provided me special sized rivets and brass wheel that the cable is lopped through  and passes over.  I didn't ask for these, but the supplier knew how important they would be and included them in the kit. Rivet #1 is the large rivet below the safety spring pin in the picture below.  It holds the brass groved wheel that the cable runs in. The cable enters the slot in the arm and runs in the grove of the brass wheel. This free rolling

Real Men Drink Tea...But "Cozy" Will Not Do!

Image
My teapots are not targeted toward one gender or the other.  I design my teapots so that both woman and men will find my teapots appealing and comfortable to hold. But men searching for a teapot to purchase are sometimes restricted by a selection that is biased toward more feminine teapots.  This becomes even more problematic when men shop for a covering to keep liquid in a teapot warm ... or what the refined species refers to as a Tea Cozy. I mean, the name just doesn't cut it with men. Picture this: A big man wearing jeans and a work shirt stained with oil and paint walks into a tea room.  He is visibly uncomfortable walking through the room full of well-dressed woman all in white and colorfully print dresses.  He walks up to the counter. Deep, big voice, "Do you have any Cozies?"  See the problem? Well, this was solved by my friend Annilese Pitt, owner and designer at Thistledown Cozies.  She designed the HOB.  As she explained to me "hob" refers to the

Shino… Hard to control, lovely to hold

Image
I was exposed to Shino glazes in January, 2002 at the Fitchburg ( Massachusetts , USA ) Art Museum. Friends and fellow potters attended an opening reception of " American Shino: The Glaze of a Thousand Faces “  at the museum where I learned of Shino for the very first time.  I learned that it was a family of glazes that had been developed in Japan during the late 17 th century, but then had fallen into obscurity. In 1974, a student, Virginia Wirt, a student   at the University of Minnesota , developed a glaze formula that mirrored the Japanese Shino affect.  This formula became known as American Shino and has provided the foundation blocks for many variations of Shino used by potters today.   After attending the event, my friends and I put into motion plans to purchase a gas kiln so we could experiment with reduction gas firing and Shino glazes.  Shino itself is considered a very finicky and unpredictable glaze.  I would never boast that I have “conquered” the glaze.

Making the Maria Stuarda Teapot

Image
While working in the studio, I was listening to a classical radio station and an opera began to be broadcast.  The opera was Maria Stuarda   This two act opera was written by Geatano Donizetti and is based  on Friedrich Schiller’s 1800 play Maria Stuarda   involving the doomed life of Mary, Queen of Scotland. Now to me, opera means songs that are sung in Italian or German that I cannot understand nor follow.  So I wasn't listening intently, but I was enjoying the music and voices.  While listening to the opera I began to create a teapot and thought I might record the steps that I take to make one. I was working on numerous teapots, so I distinguished this one as the Maria Stuarda Teapot. As you read, you may find a new perspective how hand-made teapots are formed before it finds itself at a gallery, store or on-line shop. Forming the body It is always good to conceptualize the finished piece before one even sits down to begin to work with clay.  The first step is to cre