Some Assembly Required
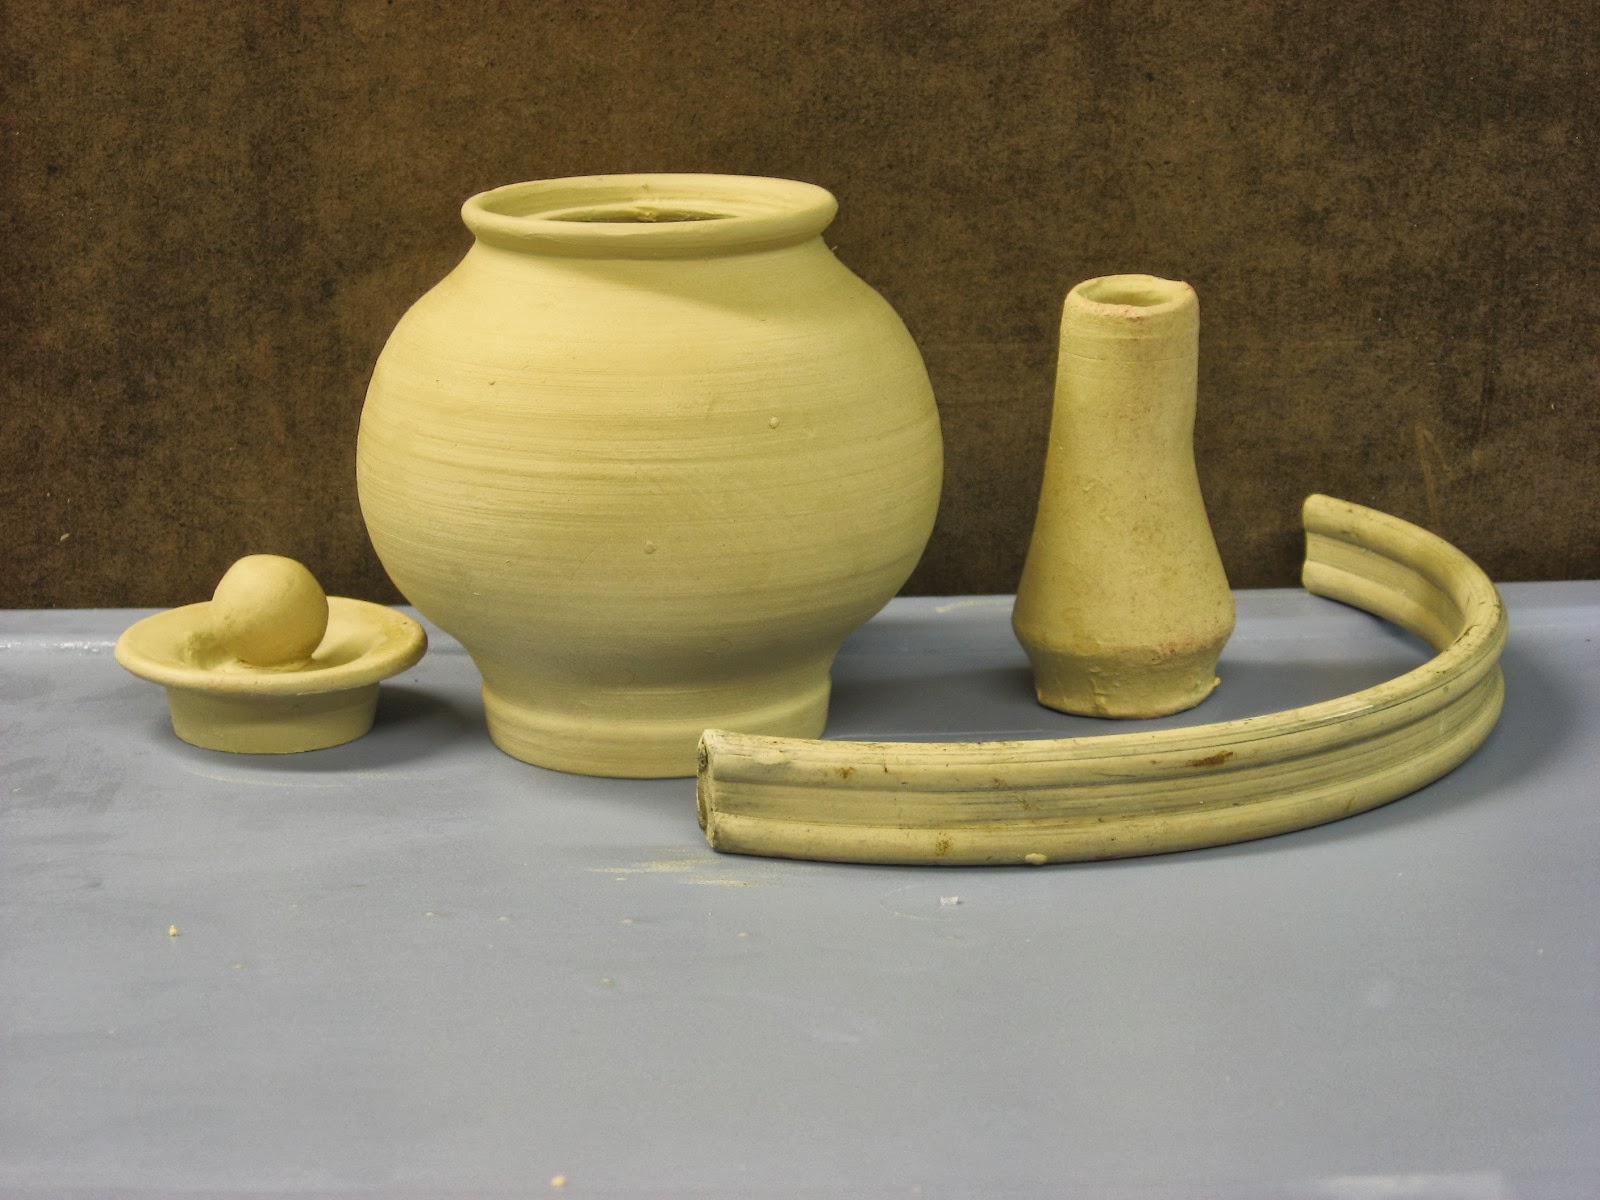
I create the separate pieces of a teapot at different times and allow them to dry to a leather hard state. When the clay is leather hard it can be handled without deforming the clay, but soft enough to manipulate and assemble the pieces. From left to right is the teapot lid, body and spout, along with an handle that has been extruded. The extruder's die was custom made by me.
(Sorry for the yellow hue in the pictures. Either the camera flash malfunctioned or the fluorescent ceiling lights interfered with the flash.)
Next I scratch an outline at the location of the spout on the body. Using my thumb I press the clay inward.
This is the beginning of the internal strainer that is part of all of my teapots.
Next I create the internal strainer by making small holes in the clay. Some use a set pattern for these holes. I don't.
Now the spout is ready to be attached to the teapot body covering the strainer.
The next step is a bit complicated for photographs. The extruded handle is curved and attached to the teapot. And then (and here's the little tip I learned years ago), I place the teapot upside down allowing gravity to help shape the handle's curve. After the handle has set enough to keep the handle's curve, I return the teapot right side up and cut the tip of the spout to form its angle.
I place everything under plastic laundry garment bags so that the clay dries very, very slowly. Sometimes I will dry a teapot under the plastic for a week.
 |
| Finished Teapot |


Comments
Post a Comment